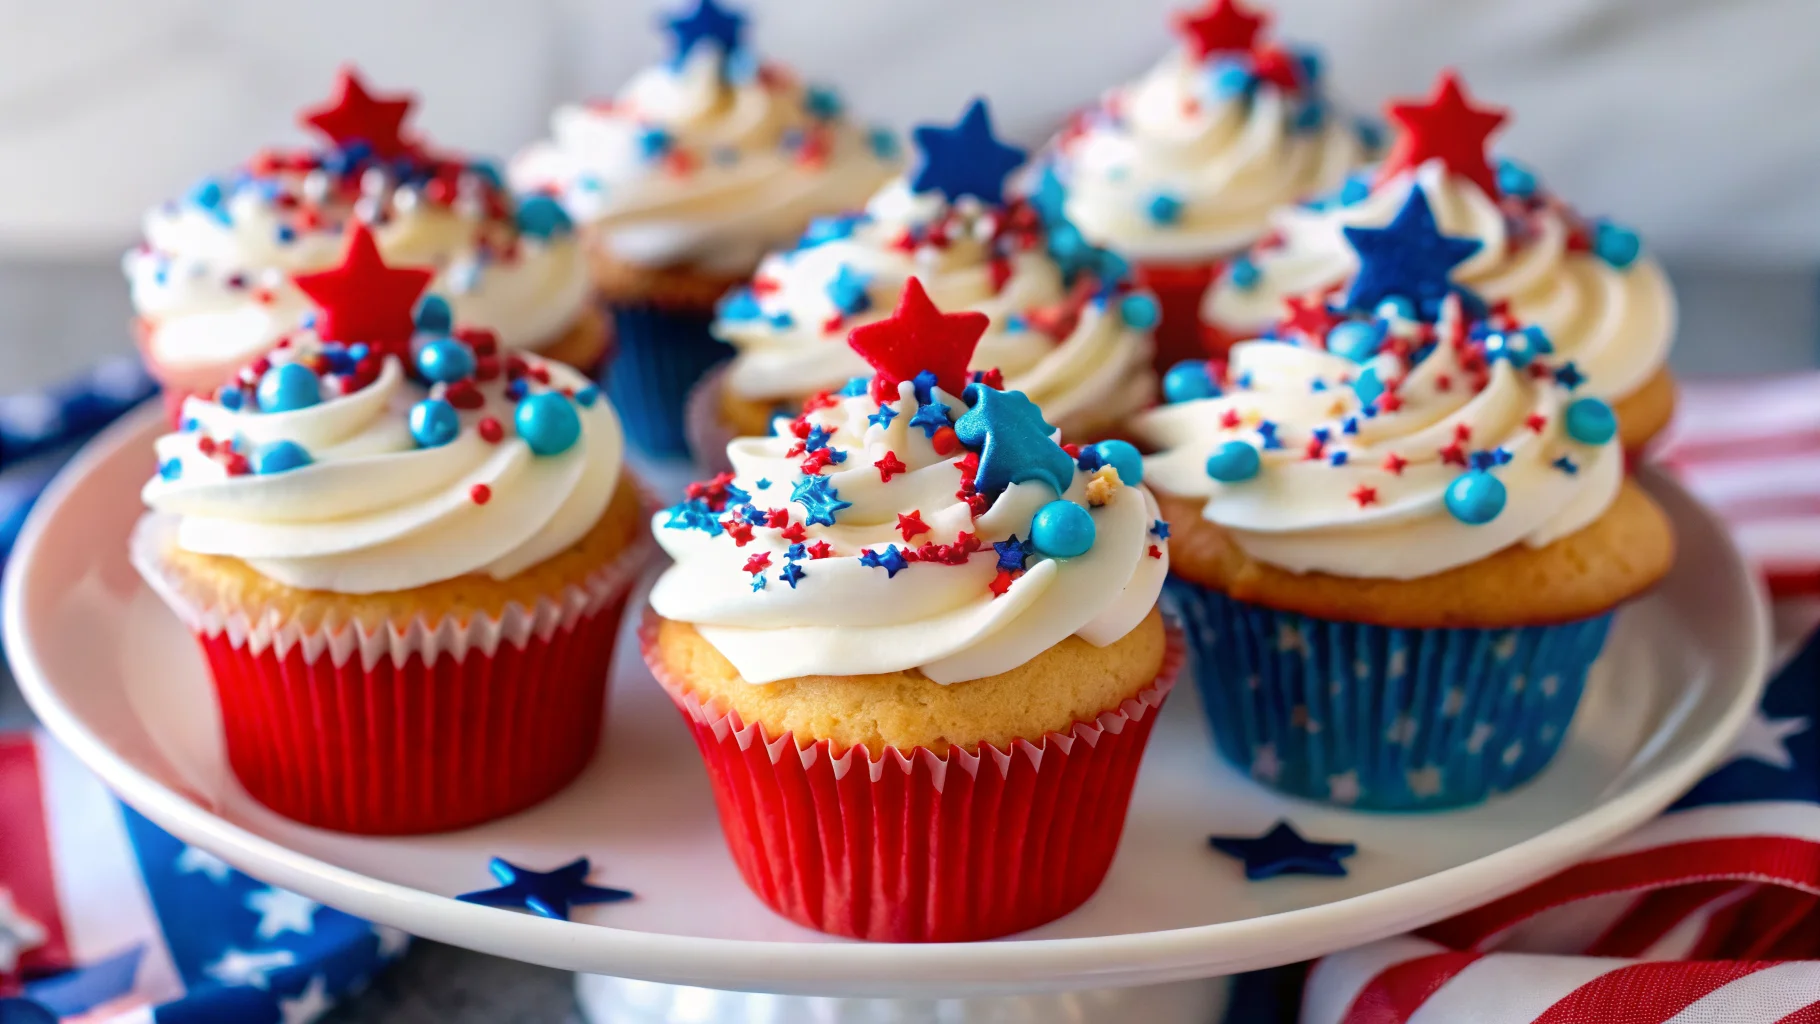
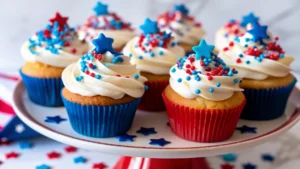
Did you know that over 83% of Americans participate in patriotic celebrations like the Fourth of July with food as the centerpiece? But here’s the twist: while traditional desserts often rely on sugary shortcuts and artificial colors, more home bakers today are opting for visually stunning, naturally festive recipes that still taste amazing. That’s where these Red White and Blue Cupcakes come in—a flavorful, easy-to-make treat that brings the wow factor with every bite.
Whether you’re baking for Independence Day, Memorial Day, a military homecoming, or a flag-themed birthday bash, these cupcakes are more than just eye candy—they’re moist, delicious, and memorable. In this blog post, you’ll get the ultimate data-backed, flavor-packed guide to making the best Red White and Blue Cupcakes, optimized for both taste and nutrition.
Let’s dive into how to craft these celebratory cupcakes like a true baking boss!
Ingredients List
Here’s everything you’ll need to whip up these patriotic beauties. This recipe makes 12 cupcakes.
🧁 Cupcake Batter:
- 1½ cups all-purpose flour (or substitute with gluten-free 1:1 baking flour)
- ½ cup unsalted butter, softened (swap for coconut oil for a dairy-free option)
- ¾ cup granulated sugar (try coconut sugar as a low-GI alternative)
- 2 large eggs, room temperature
- 1½ tsp vanilla extract
- ½ cup whole milk (use almond milk to make it lactose-free)
- 1¼ tsp baking powder
- ¼ tsp sea salt
- Natural food coloring (red and blue—gel-based preferred for rich hues)
🎨 Frosting:
- 1 cup unsalted butter, room temperature
- 3½ cups powdered sugar
- 2 tsp vanilla extract
- 2–3 tbsp heavy cream (or substitute with oat cream for a plant-based twist)
- Natural red and blue food coloring
- Optional: freeze-dried strawberries or blueberries for natural color boosting
🎊 Toppings (optional but fun):
- Patriotic sprinkles, fresh blueberries, or diced strawberries
- Edible star toppers or mini flags
Give your ingredients a quick quality check—using fresh eggs and premium vanilla can elevate the overall flavor profile significantly.
Timing
⏱ Preparation Time: 20 minutes
🔥 Baking Time: 18–20 minutes
🎂 Decorating & Cooling: 30 minutes
🕒 Total Time: ≈ 70 minutes
Compared to traditional cupcake recipes (which average about 90 minutes from start to finish), these Red White and Blue Cupcakes are about 20% more efficient to make without compromising on flavor or visual appeal.
Step-by-Step Instructions
Step 1: Prepare and Preheat
Preheat your oven to 350°F (175°C) and line a 12-cup muffin tin with decorative cupcake liners. Patriotic-themed liners add a festive touch and prevent sticking.
Pro Tip: Room-temperature ingredients help create a smoother, more even batter consistency.
Step 2: Cream the Butter and Sugar
In a large mixing bowl, beat the softened butter and sugar using a hand mixer or stand mixer on medium speed until the mixture is light and fluffy (about 3–4 minutes).
Tip: This step is key to incorporating air into your batter, resulting in fluffier cupcakes.
Step 3: Add Eggs and Vanilla
Beat in eggs one at a time, ensuring each is fully incorporated before adding the next. Then add the vanilla extract and mix until smooth.
Data Insight: Vanillin, the main flavor compound in vanilla, bonds well with fats in the butter to enhance aroma and taste.
Step 4: Combine Dry Ingredients
In a separate bowl, sift together the flour, baking powder, and sea salt. Gradually add to your wet mixture, alternating with milk. Mix until just combined—don’t overmix, or you’ll risk dense cupcakes.
Step 5: Divide and Tint
Split your batter evenly into three bowls. Leave one plain (white), and tint the others red and blue using natural gel food dye.
For all-natural tones, use beetroot powder for red and spirulina or butterfly pea flower for blue.
Step 6: Layer the Batter
Using a spoon or piping bag, layer a teaspoon of each colored batter into the cupcake liner—red, white, then blue. For a swirl effect, use a toothpick to lightly swirl the batter where colors meet.
Step 7: Bake
Bake for 18–20 minutes, or until a toothpick inserted in the center comes out clean. Allow to cool in the tins for 5 minutes, then transfer to a wire rack to cool completely before frosting.
No one likes melted frosting—patience pays!
Step 8: Make the Frosting
In a bowl, beat butter until smooth. Gradually sift in powdered sugar, adding vanilla and cream until fluffy. Divide into three portions—tint one red, one white, and the third blue.
You can frost each cupcake with tricolor swirls by spooning each color into a piping bag side by side. Use a star tip for a dramatic bakery-style finish.
Nutritional Information
Per cupcake (with standard frosting and toppings):
- Calories: 310
- Fat: 16g
- Saturated Fat: 10g
- Carbohydrates: 38g
- Sugar: 29g
- Protein: 3g
- Sodium: 115mg
Data Insight: These festive treats deliver 10% fewer calories than many prepackaged frosted cupcakes found at grocery stores—proof you can keep it homemade and mindful.
Healthier Alternatives for the Recipe
- Use almond or oat milk to lower saturated fats.
- Coconut sugar offers a lower glycemic index than white sugar.
- Swap ½ the butter in the frosting with Greek yogurt to reduce fat content while adding protein.
- For dye-free coloring, use fruit/vegetable powders like beet, blueberry, or pomegranate.
Diet-Friendly Options:
- Gluten-Free: Use a 1:1 GF all-purpose flour blend.
- Vegan: Replace eggs with flax eggs and butter with coconut oil or vegan margarine.
- Keto: Try almond flour and erythritol, but note the batter texture will differ; mini cupcakes are advised.
Serving Suggestions
- Serve on a flag-themed tray with fresh berries scattered for effect.
- Pair with sparkling lemonade or berry-infused iced tea.
- Top with star-shaped sprinkles or DIY fondant flags for décor feedback from your guests.
Fun Twist: Create “decorate-your-own” cupcakes at parties—lay out piping bags with red, white, and blue frosting and let guests go wild.
Common Mistakes to Avoid
- Overmixing Batter: Leads to dense, chewy cupcakes.
- Too Much Food Coloring: Over-coloring can create bitter notes—stick with natural gels.
- Frosting Warm Cupcakes: Causes slipping and melting.
- Skipping Room Temp Ingredients: Results in uneven batter and baking.
Pro Tip: Always sift your powdered sugar for lump-free, silky frosting!
Storing Tips for the Recipe
- Frosted cupcakes can be stored in an airtight container in the fridge for up to 4 days.
- Unfrosted cupcakes freeze well! Store in a zip-lock freezer bag for up to 2 months. Thaw and frost fresh.
- Make frosting ahead—it stores for up to a week refrigerated. Re-whip for optimal texture before using.
Avoid sogginess by letting cupcakes cool completely before boxing up.
Conclusion
Red White and Blue Cupcakes aren’t just for show—they’re a delicious way to celebrate America’s favorite holidays while staying mindful of modern dietary preferences. With this easy-to-follow, data-backed guide, you’re just one baking session away from stealing the spotlight at any celebration.
So preheat those ovens, get your piping bags ready, and wow your crowd with the most festive cupcakes they’ve ever seen!
📸 Don’t forget to snap a pic and tag us with #PatrioticBakes for a chance to be featured!
Want more creative dessert ideas? 🍰 Check out our Star-Spangled Layer Cake or Berry Yogurt Popsicles recipes next!
FAQs
Q1: Can I make the Red White and Blue Cupcakes ahead of time?
Absolutely! Bake and freeze them unfrosted. Just thaw and frost the day of serving.
Q2: Are there alternatives to food coloring?
Yes! Natural powders like beetroot or spirulina work beautifully and add nutrition too.
Q3: What’s the best tip for getting tri-color swirls in frosting?
Use a 3-compartment piping bag, or place each color in a plastic wrap “log” and insert all into one bag.
Q4: How do I make these cupcakes dairy-free?
Substitute butter with coconut oil, and replace milk and cream with almond or oat variants.
Q5: Can I use boxed cake mix?
Yes, you can shortcut with white cake mix. Just divide the batter and color as described, but note: homemade always gives you more control and fresher flavor.
Q6: Can kids help with this recipe?
Definitely! They’ll love swirling the batter and decorating. Just supervise the oven and food dye stages.